Solfege Gesture MIDI
CODE
Since last week, I added a flex sensor. This allowed me to map more specific data to each gesture. I also added MIDI code so that notes could be sent over serial to Garage Band. It is still quite finicky, but I had enough resolution to play a simple scale and even notes in different orders.
#include <Arduino_LSM6DS3.h>
#include <MIDIUSB.h>
#define FLEXPORT 14
#define ALPHA 0.5
float roll, pitch, ax, ay, az;
float fx, fy, fz;
int flexed;
byte Do = 60;
byte Re = 62;
byte Mi = 64;
byte Fa = 65;
byte So = 67;
byte La = 69;
byte Ti = 71;
byte prevNote;
void setup() {
//begin receiving IMU data
Serial.begin(9600);
IMU.begin();
}
void loop() {
flexed = map(analogRead(FLEXPORT), 750, 930, 0, 100);
//Serial.println(flexed);
//read IMU data
IMU.readAcceleration(ax, ay, az);
//Convert to sensor fusion values
fx = ax * ALPHA + (fx * (1.0 - ALPHA));
fy = ay * ALPHA + (fy * (1.0 - ALPHA));
fz = az * ALPHA + (fz * (1.0 - ALPHA));
//equations for roll & pitch
roll = (atan2(-fy, fz)*180.0)/M_PI;
pitch = (atan2(fx, sqrt(fy*fy + fz*fz))*180.0)/M_PI;
midiEventPacket_t sound;
byte note = 0;
byte cmd = 0x90;
Serial.print("PITCH: ");
Serial.print(pitch);
Serial.print(" | ROLL: ");
Serial.print(roll);
Serial.print(" | FLEXED: ");
Serial.print(flexed);
Serial.print(" | ");
//map pitch & roll data to solfege notes
if(abs(roll) <= 10 && abs(pitch) <= 10 && flexed > 75){
//Do, MIDI 72
note = Do;
Serial.println("Do");
}
if(abs(roll) >= 0 && abs(roll)<= 10 && pitch <= -15 && pitch >= -45 && flexed < 10){
//Re, MIDI 74
note = Re;
Serial.println("Re");
}
if(abs(roll) <= 10 && abs(pitch) <= 10 && flexed < 10){
//Mi, MIDI 76
note = Mi;
Serial.println("Mi");
}
if(roll >= -65 && roll <= -45 && pitch <= 3 && pitch >= -25 && flexed > 75){
//Fa, MIDI 77
note = Fa;
Serial.println("Fa");
}
if(roll >= 55 && roll <= 65 && pitch <= 0 && pitch >= -10 && flexed < 10){
//So, MIDI 79
note = So;
Serial.println("So");
}
if(abs(roll) <= 10 && abs(pitch) <= 10 && flexed > 20 && flexed < 70){
//La, MIDI 81
note = La;
Serial.println("La");
}
if(abs(roll) >= 0 && abs(roll)<= 17 && pitch <= -35 && pitch >= -40 && flexed > 40){
//Re, MIDI 74
note = Ti;
Serial.println("Ti");
}
if(!note){
cmd = 0x80;
note = 0x00;
}
if(note != prevNote){
sound = {cmd >> 4, cmd | 0, note, 0x45};
MidiUSB.sendMIDI(sound);
delay(100);
}
if(note){
prevNote = note;
}
Serial.println();
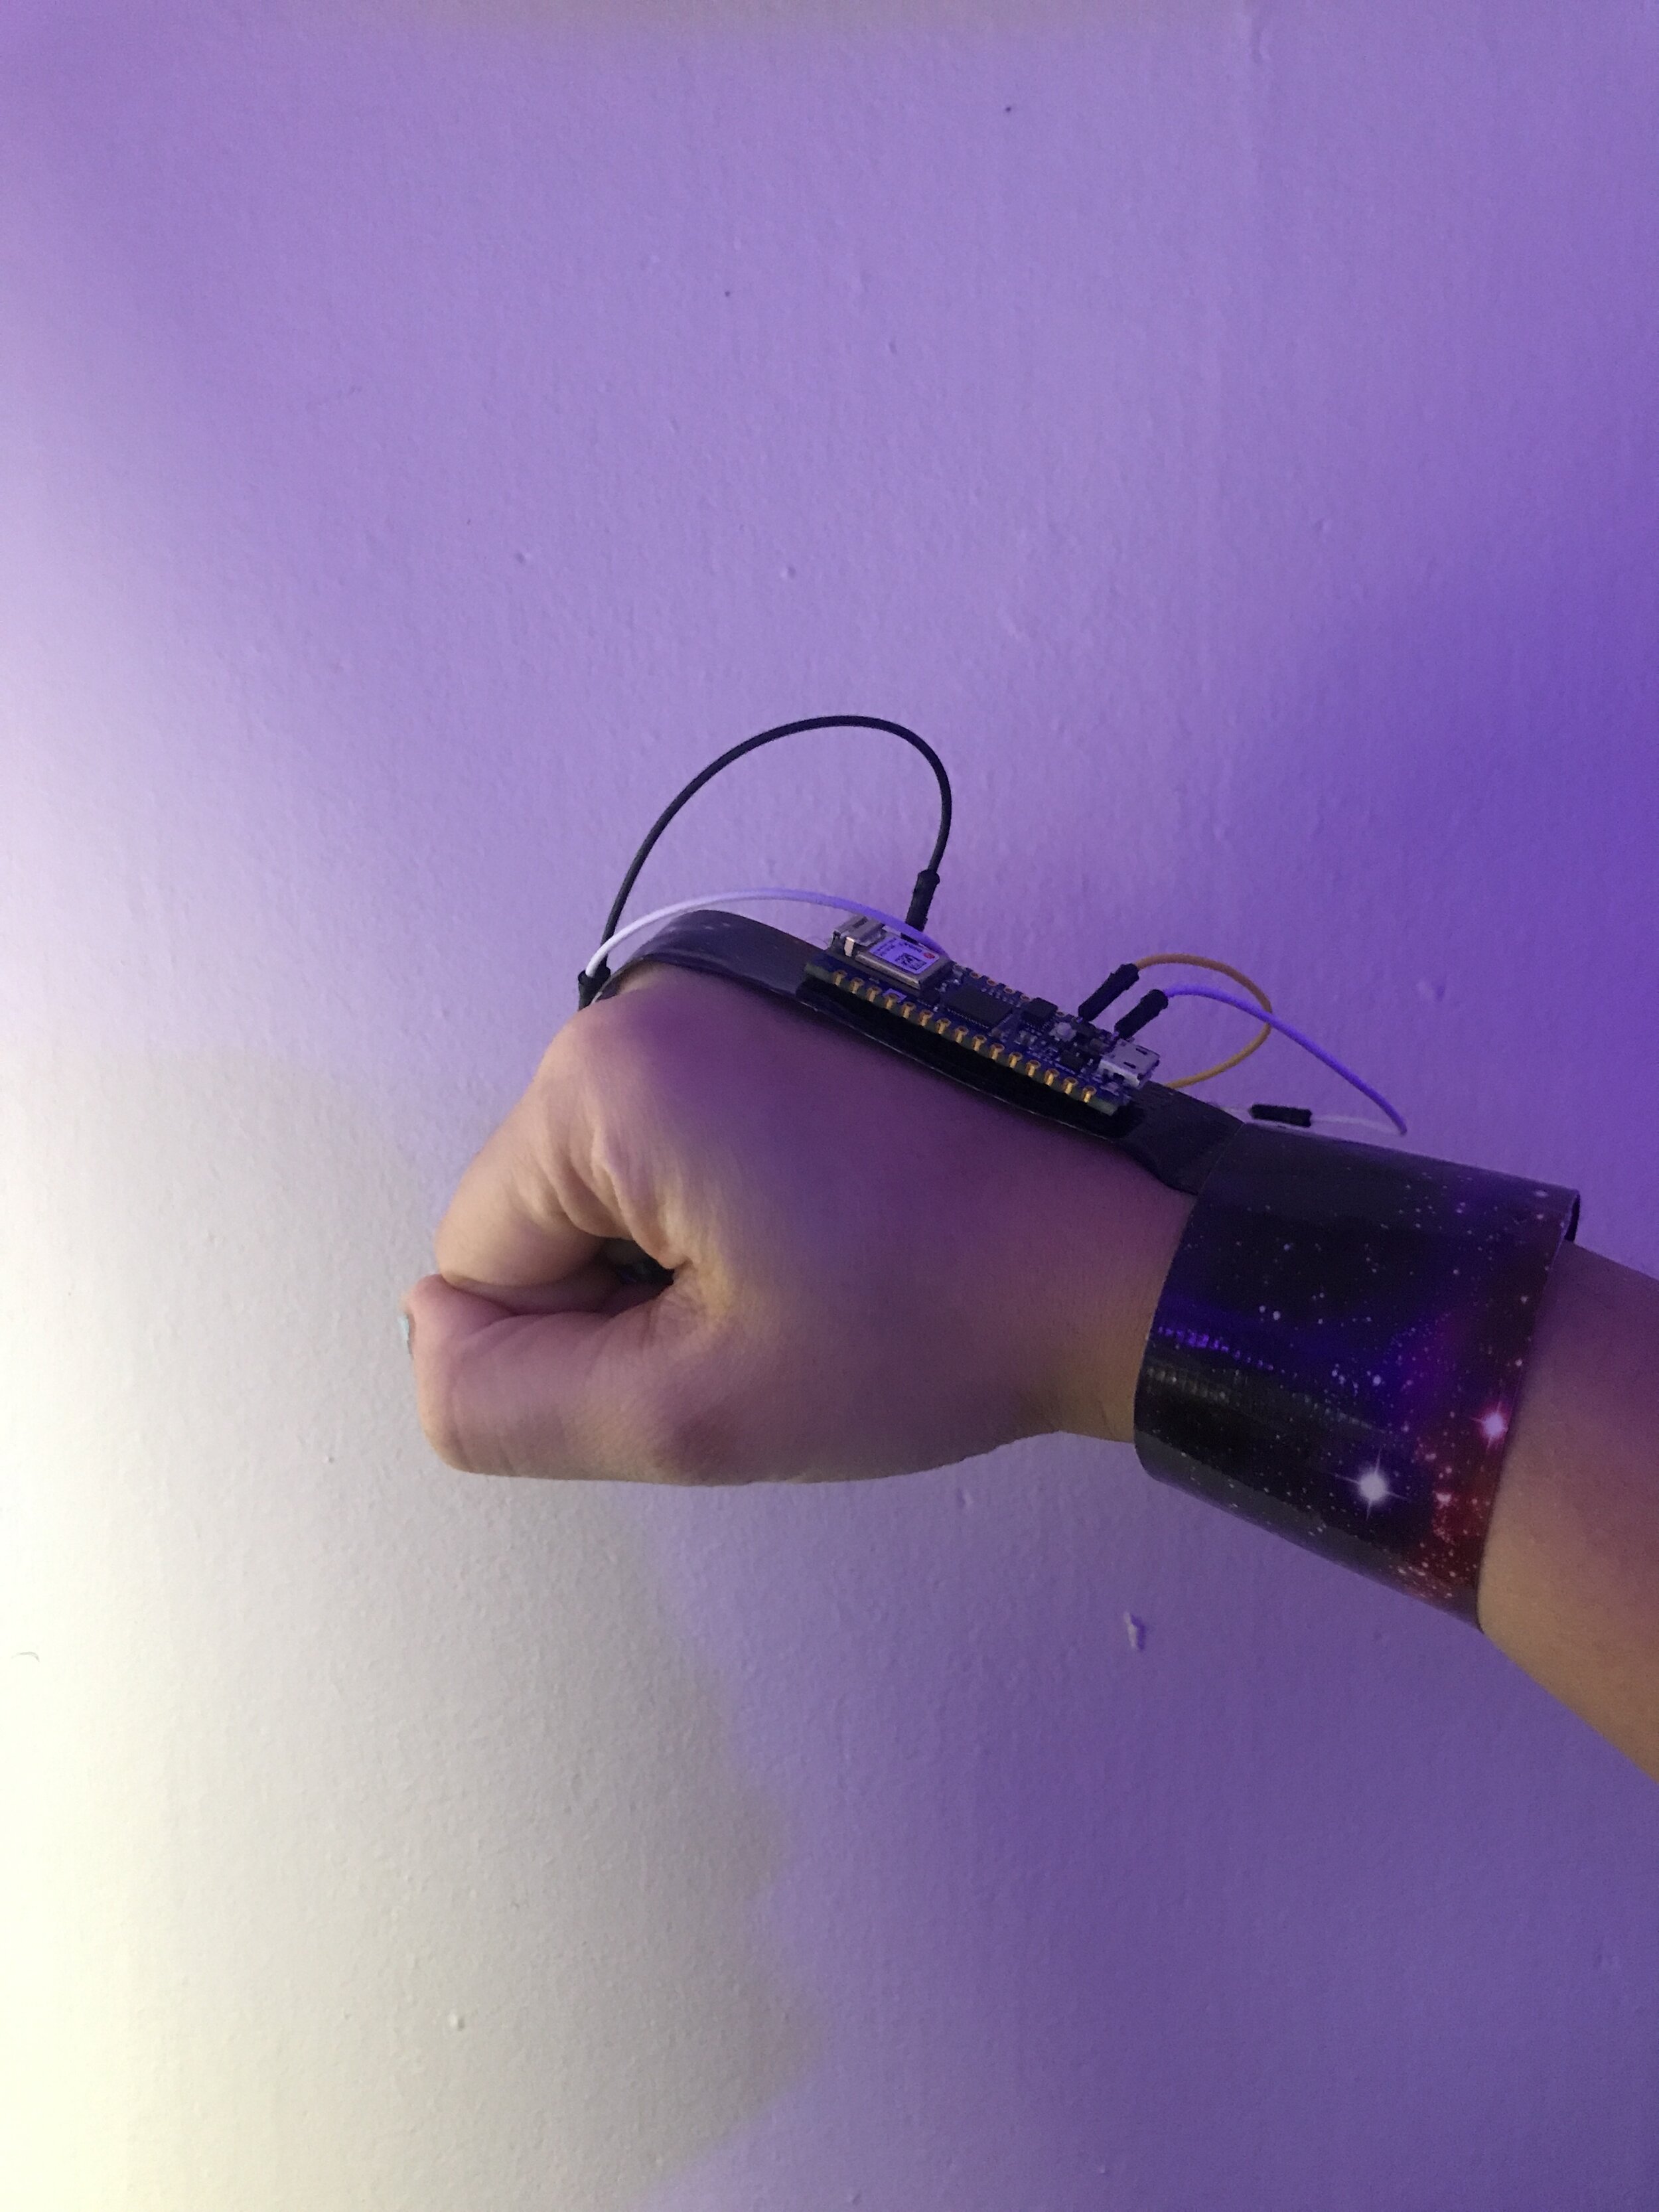
}FABRICATION
This was the ultimate at-home fab job. I used duct tape (of a galaxy variety) and velcro. It’s not the prettiest thing to look at but it does kinda feel bionic and the duct tape is surprisingly comfortable.


DEMO


