See below for more about the process.
The first halloween midterm post was getting a bit long, so I wanted to break it up into a second post, but also as a way to distinguish that creating the Halloween disco ball was truly a balance of two major components: the programing of digital elements AND the fabrication of the physical parts. Without the former, it is an empty shell, and without the latter, it is a bunch of LEDs and wires. So we thought critically about the fabrication of our project as well.
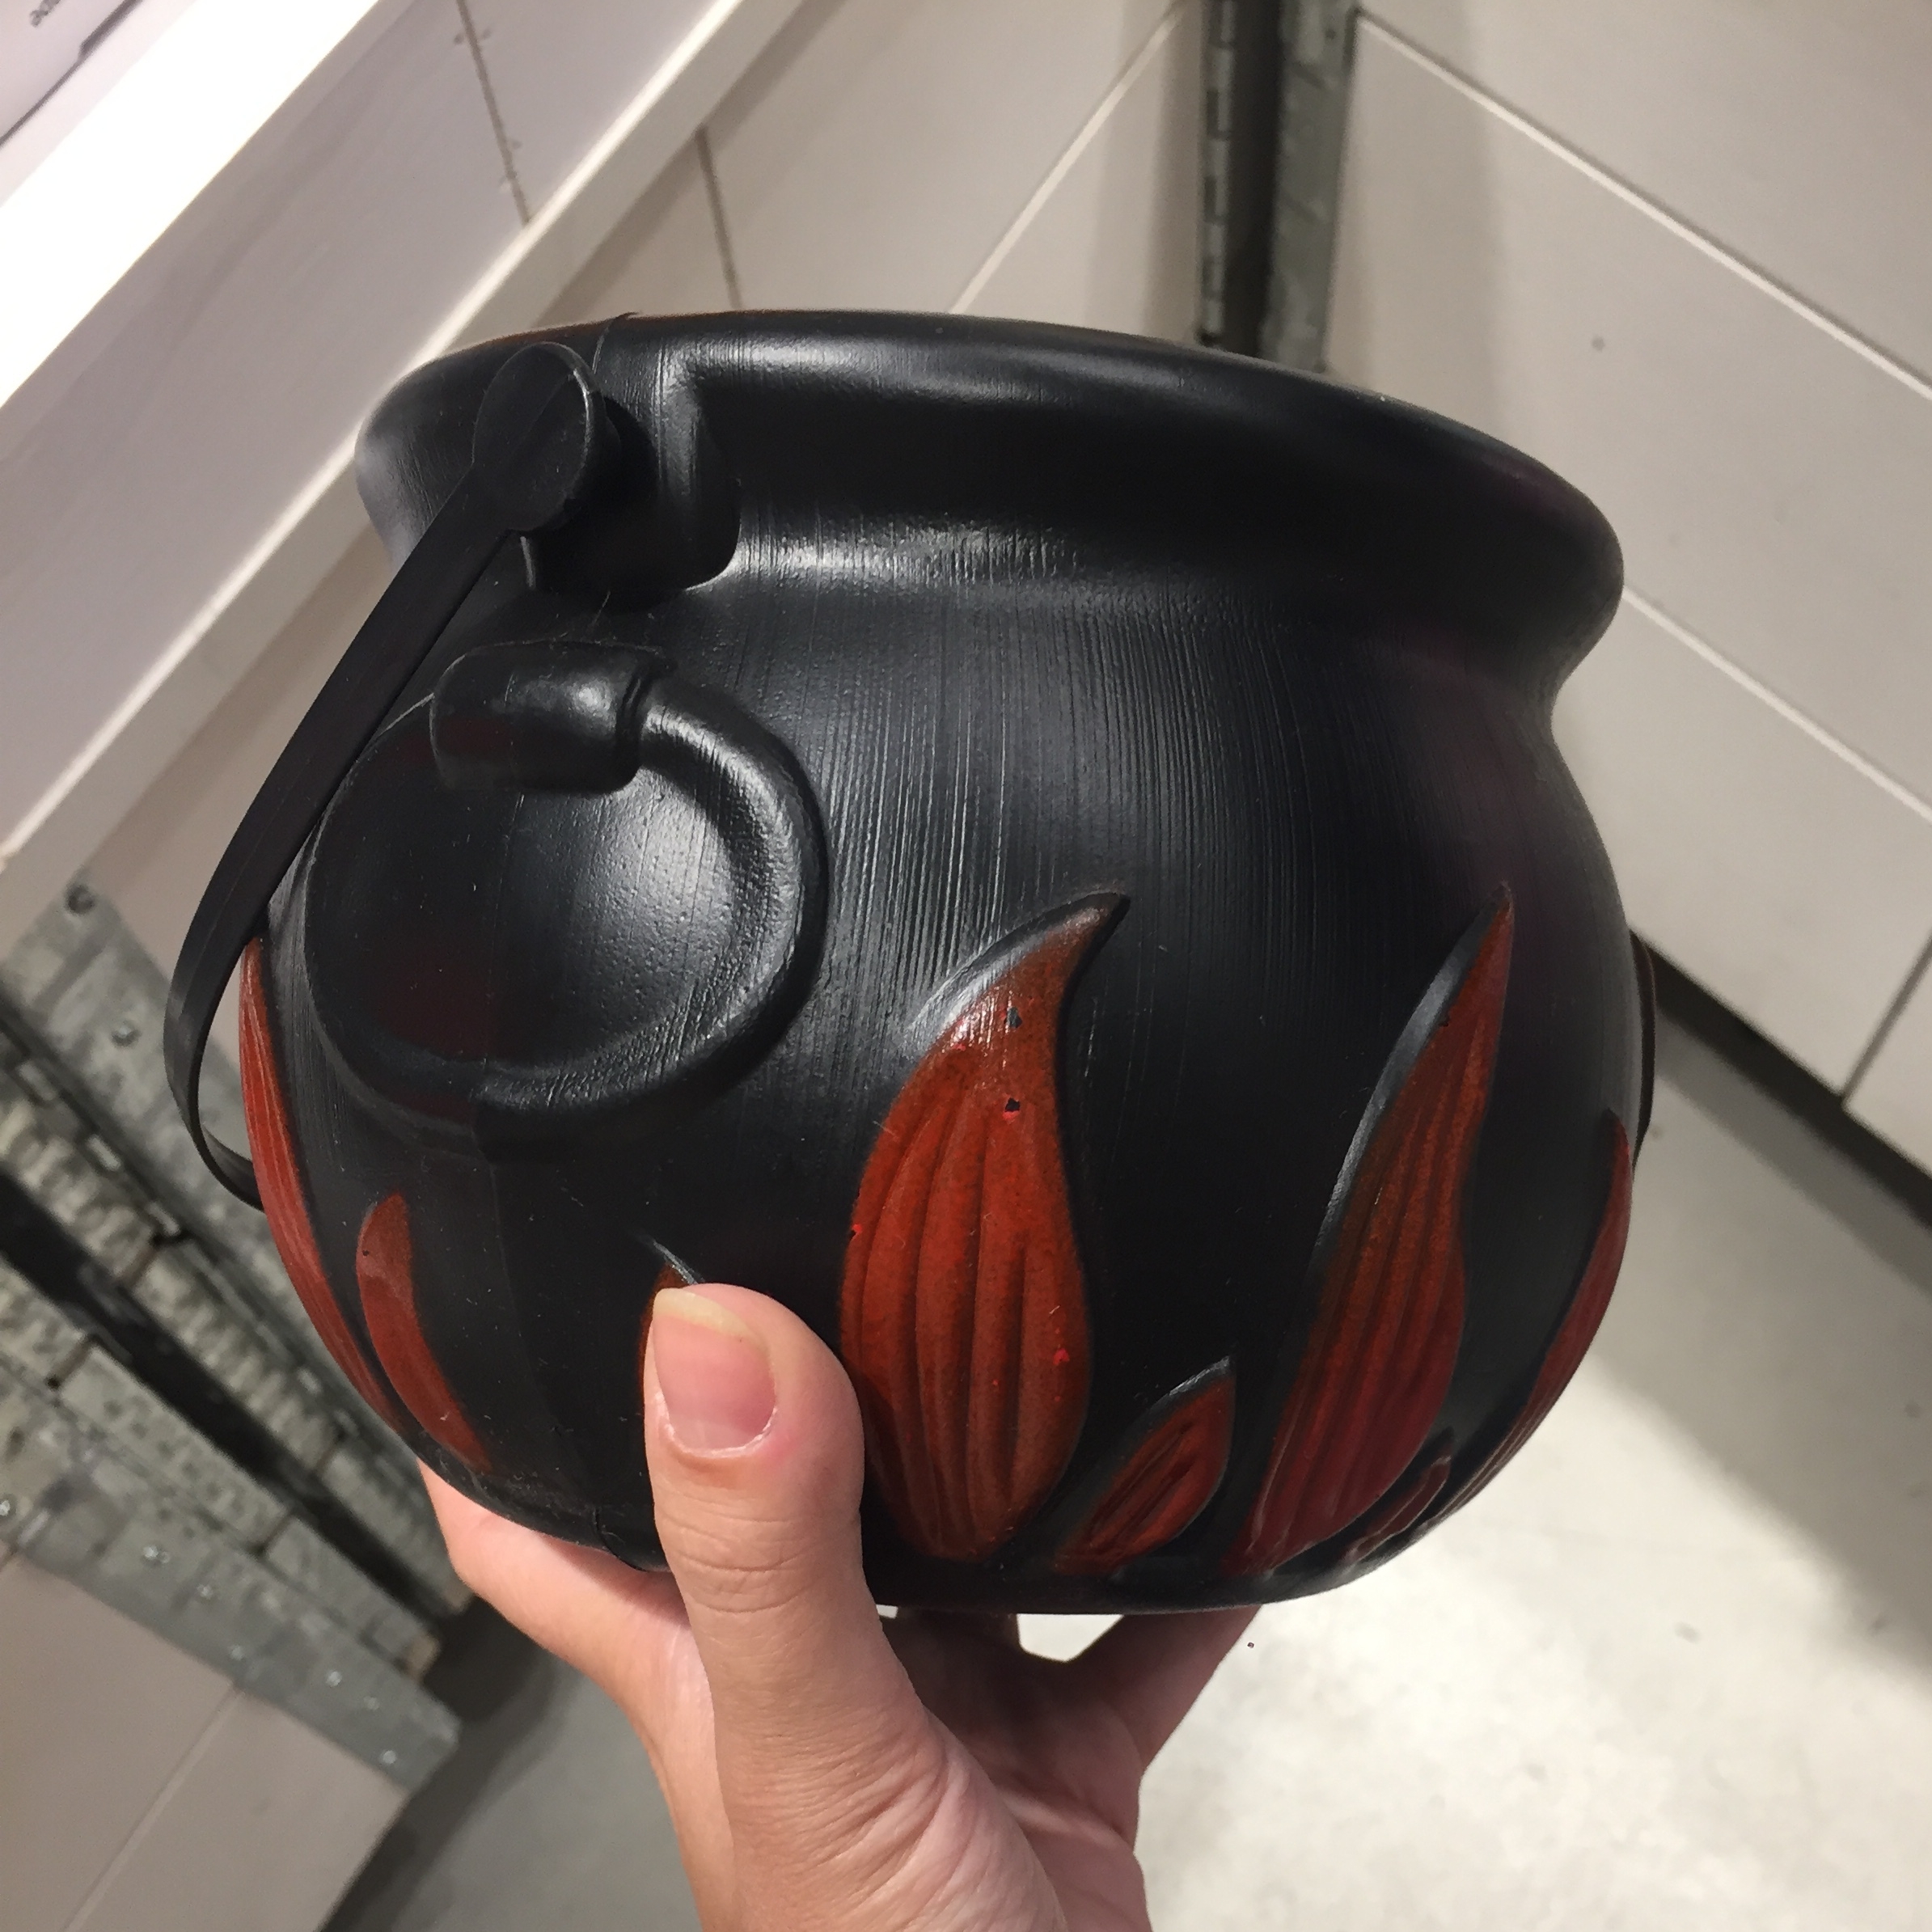
We started with a search for the jack o’lantern. We wanted a preexisting enclosure to save time. We settled on a plastic cauldron with a raised and painted flame design on the side.
Immediately, I disliked the way the flames were created on this cauldron, but I saw it as an opportunity to emphasize the future LEDs to be placed inside. I decided to cut out the flames, so that light could shine through, and since it’s a flickering candle in its normal state, this worked out nicely.
However, we didn’t want our shell to just have a bunch of flame-shaped holes, we would still need to enclose the LED bulbs inside, so we thought using some sort of translucent material would diffuse the light nicely. I tested with translucent acrylic and thought this could work well. We could laser cut the pieces and use some sort of plastic adhesive to hold it in place. But then, my dad has a genius suggestion and showed me a think translucent plastic that he used to use to diffuse light for photographic sets. This changed my path completely, the plastic was thinner, easier to cut and manipulate and I could paste it inside flush against the plastic.
Khensu-ra and I were also keen on adding a motor to our project. Originally, we planned to make the disco ball rotate. However, we quickly realized that this could be problematic with twisting all the wires inside. So we ditched this idea and thought what if we could make something come out of the cauldron! We became determined to create a fan that could blow confetti out of the top of the cauldron.
So the challenge had been set: we have a disco ball cauldron that’s sensitive to the environment, that lights up to the beat of the music, and blows confetti. HOW THE HECK DO WE BUILD THIS THING?
I sketched out a design that layered out components inside this cauldron. It was important to me that the final product would look very clean, but that we wouldn’t have to go crazy on cost.
Description of sketch (from the bottom layer to the top):
We wanted the first layer, so to speak, to be a box to enclose wires, the Arduino, and the fan battery. Luckily, I had scavenged this perforated metal box from earlier in the year. It had an open top though, so we would have to create some sort of lid. We ended up finding some left over acrylic to laser cut for this.
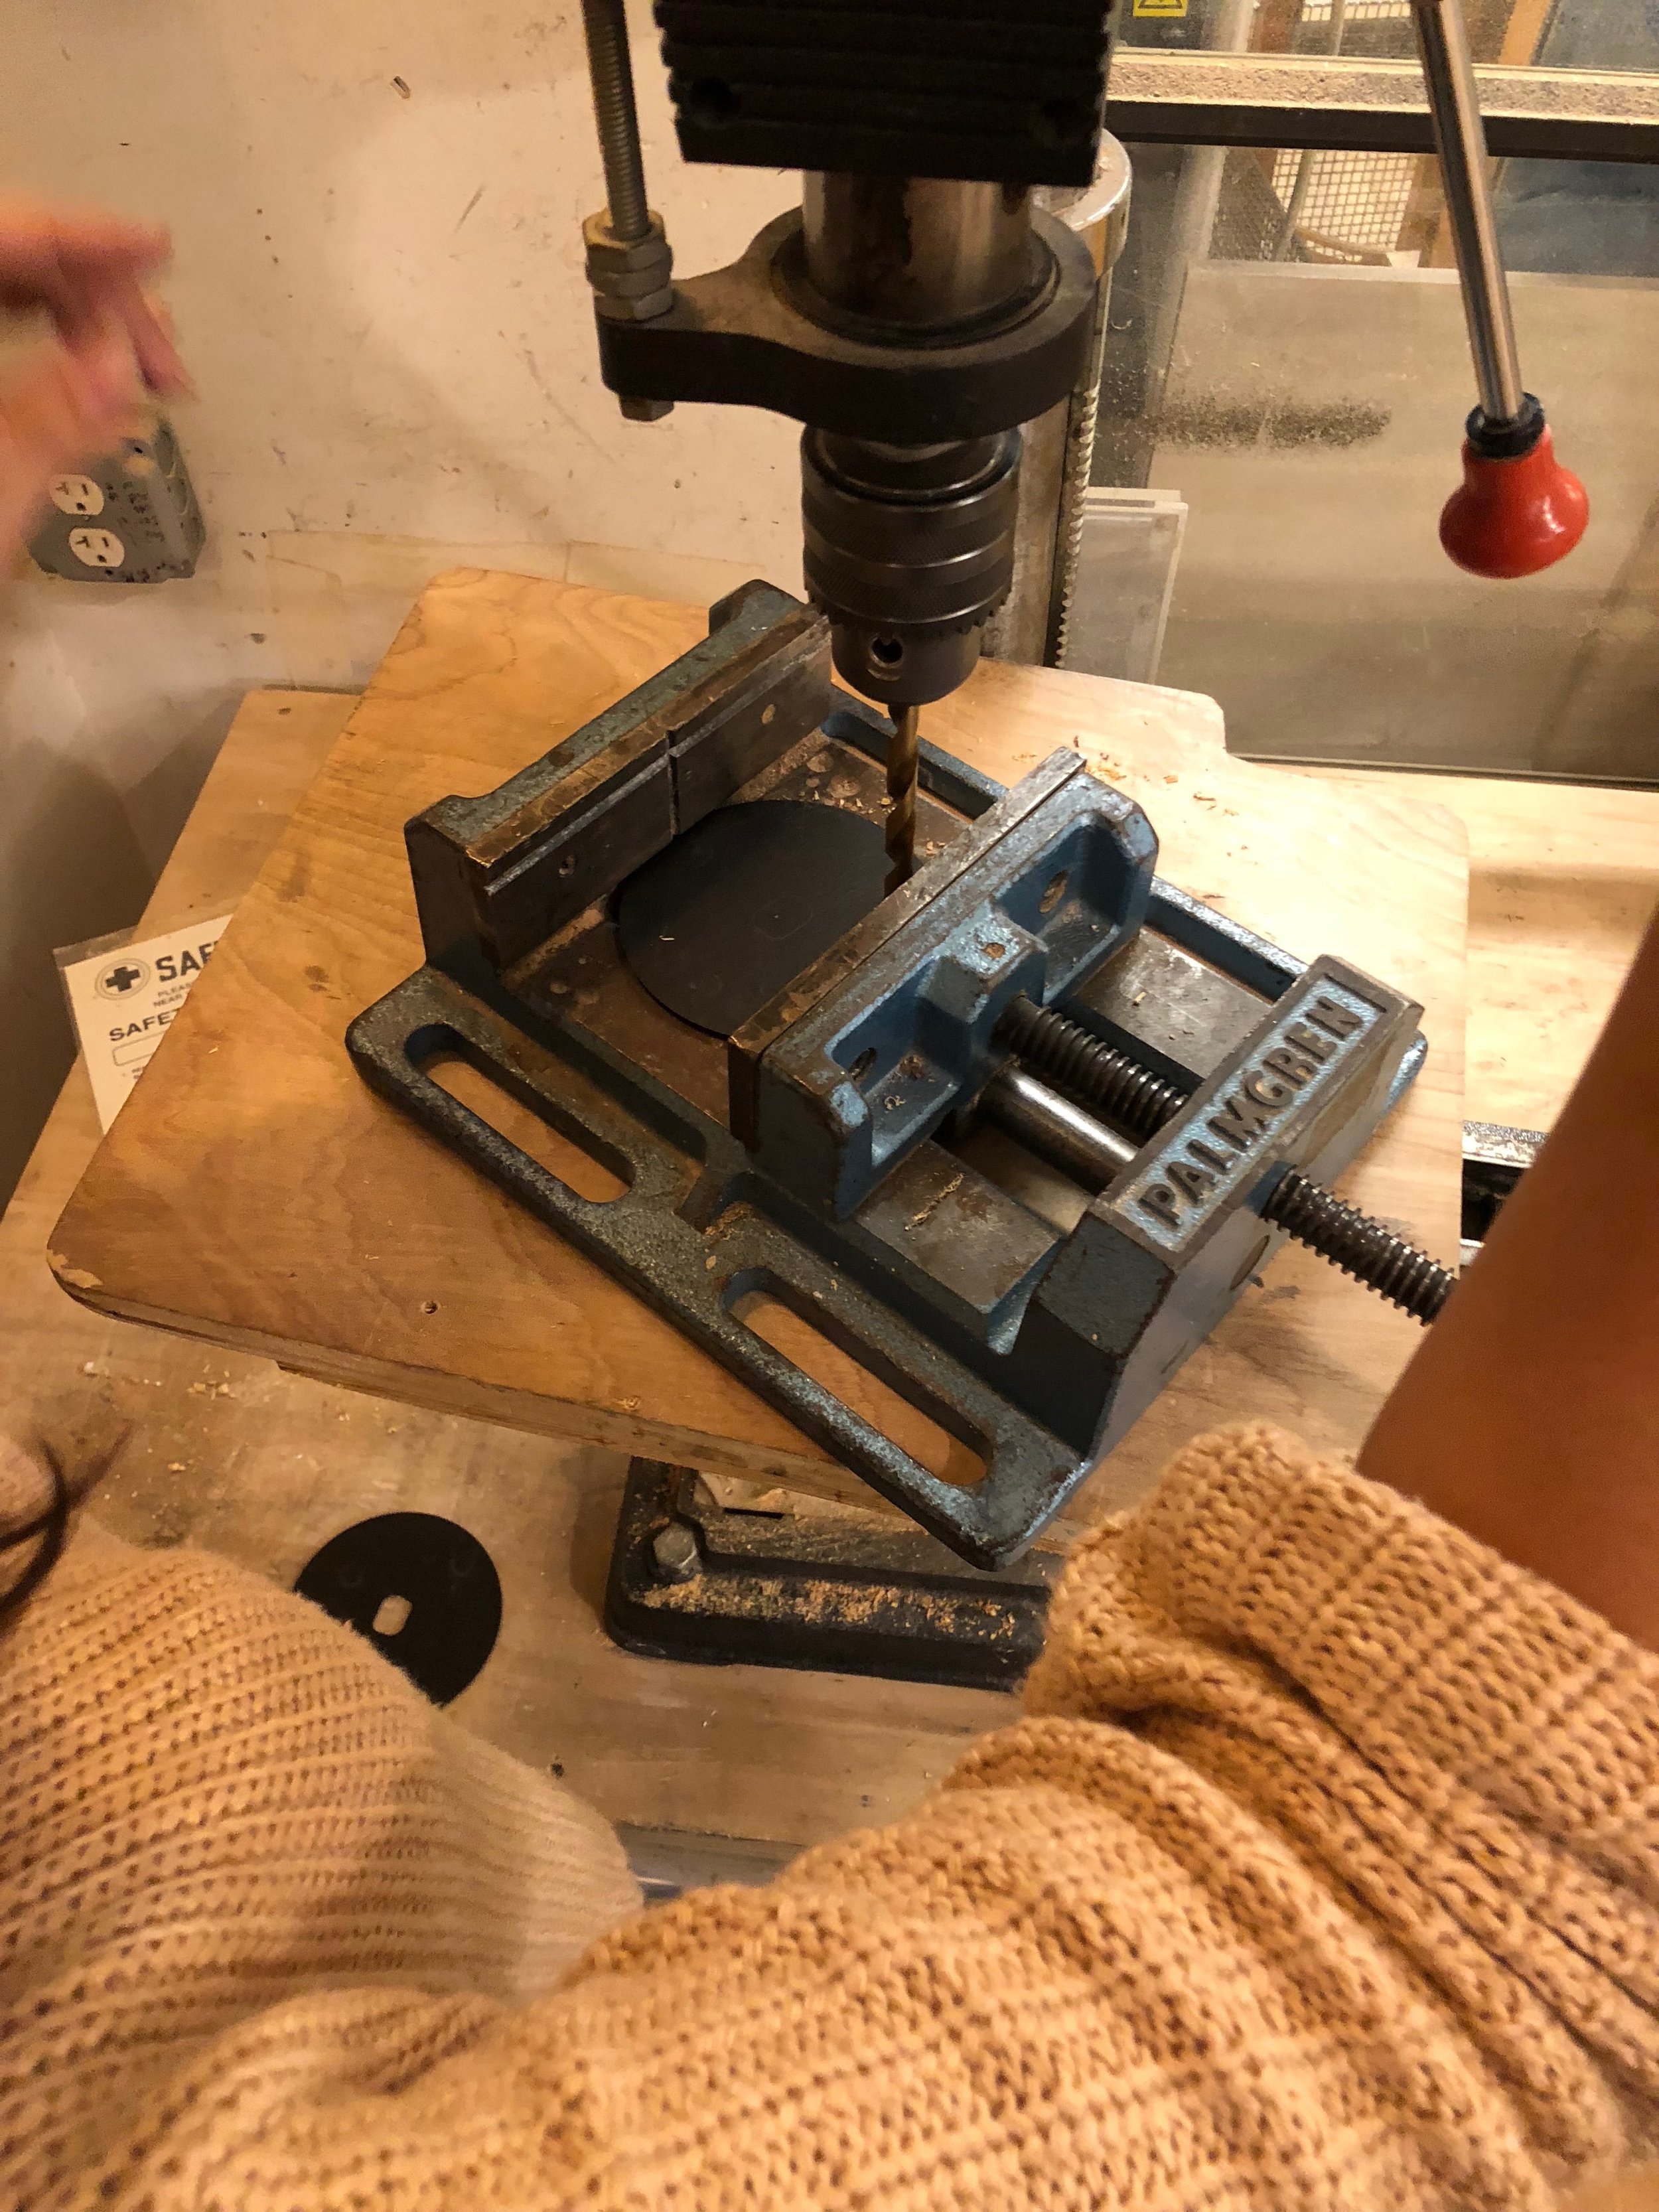
We would drill holes in the four corners to attach to the box, a hole for the fan switch, 3 holes for the cauldron to be attached and one larger hole to run wires through.
The cauldron would have the translucent plastic attached from the inside.
Then, we would rest a small tower to hold the breadboard with LEDs at the bottom, and mount the motor for the fan on the next layer (made from two laser cut acrylic panels stacked with dowels).
Drill a small hole on the edge of the cauldron lip to expose the photocell.
Mesh layer on the top to rest confetti on top of.
So this became our task list, and in execution we accomplished each step pretty much to a tee, but it was certainly a challenge!
Creating the stacked interior tower:
We drilled into the acrylic to create a circular indentation that the dowels could fit into.
Khensu-ra holding dowels and acrylic pieces together while the glue sets.
Get that motor runnin’:
Creating the motor mechanism was an interesting part. Getting our motor to run was easy, but getting it to blow confetti was difficult. We were originally advised that we should use a tube where air could be underneath the fan, otherwise it wouldn’t blow anything. When we tried this, however, the motor created a vacuum and ended up pulling the confetti in the opposite way that we wanted. We tried enclosing the motor instead with a back to the tube. This worked, the confetti has nowhere to go but up and out!
Late night madness in the shop.
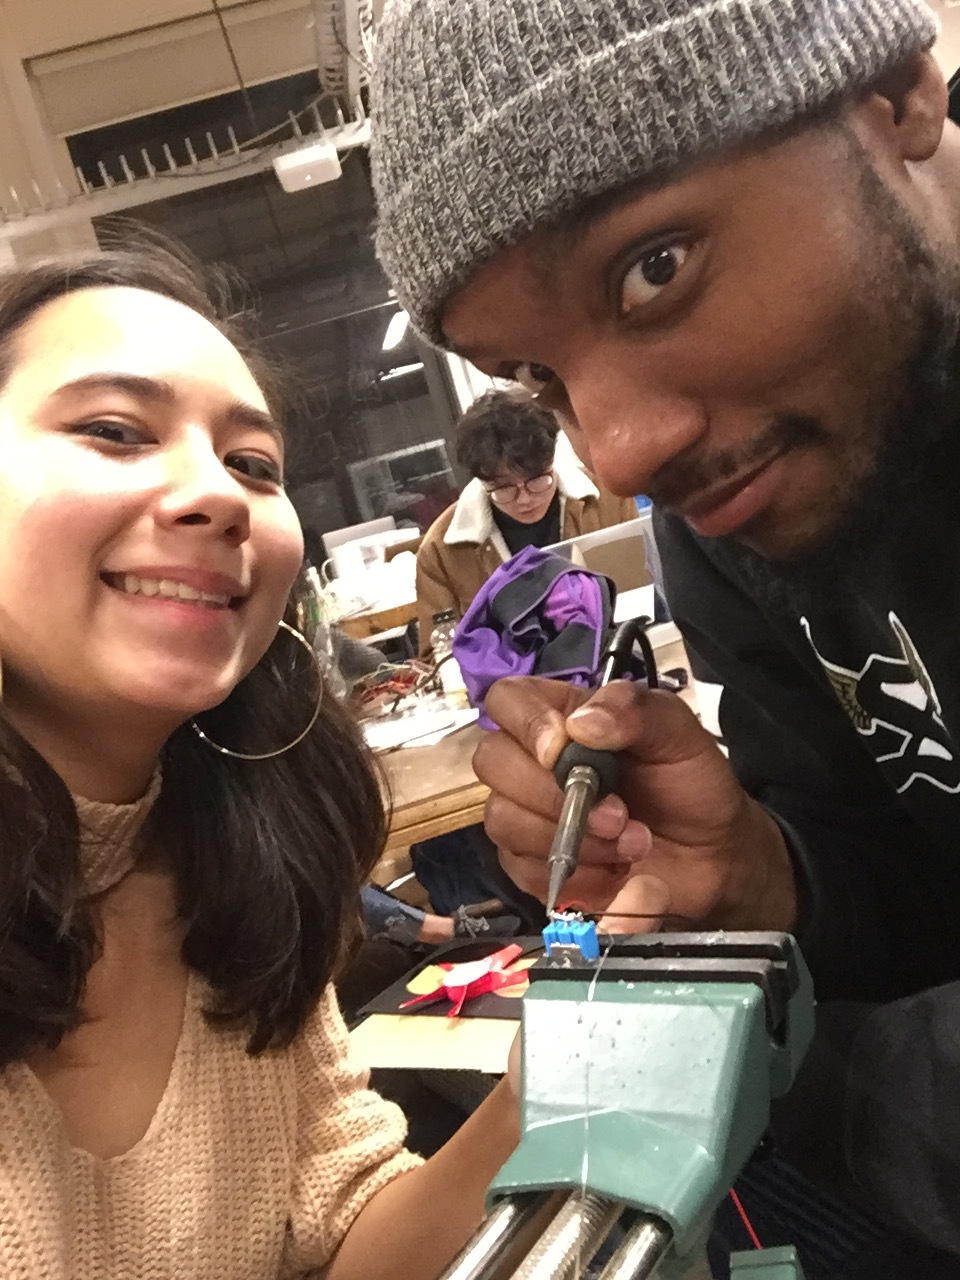
Soldering the motor switch.
Motor mounted and spinning.
Fan blows confetti out of the tube. I celebrate every victory.
Of all these elements, which part do you think would have been the hardest to complete?
Well, whatever you thought, you’re wrong.
It was the DAMN LID for the box.
Surprised? Yea us too.
Khensu-ra and I measured this lid probably a million times, with electronic calibers even, to make sure all hold would be in the exact right place. Alas, we adjusted it over 7 times, mocked it out on cardboard about 6 times, and sadly the final acrylic piece still did not fit correctly. TRAGIC. Ashamed to say, I had to file out the four corner holes in desperate measures to make this thing sit on the box correctly. It worked out, but I’ll never forget the pain.
Found metal box to be used as the base of the cauldron and to enclosure the Arduino and battery.
One of a million laser cut cardboard prototypes of this lid and that was even before the other holes were added.
Final acrylic lid with holes. After all that it fit better having the switch in the opposite side of what we planned. Ugh the struggle, the sacrifices.
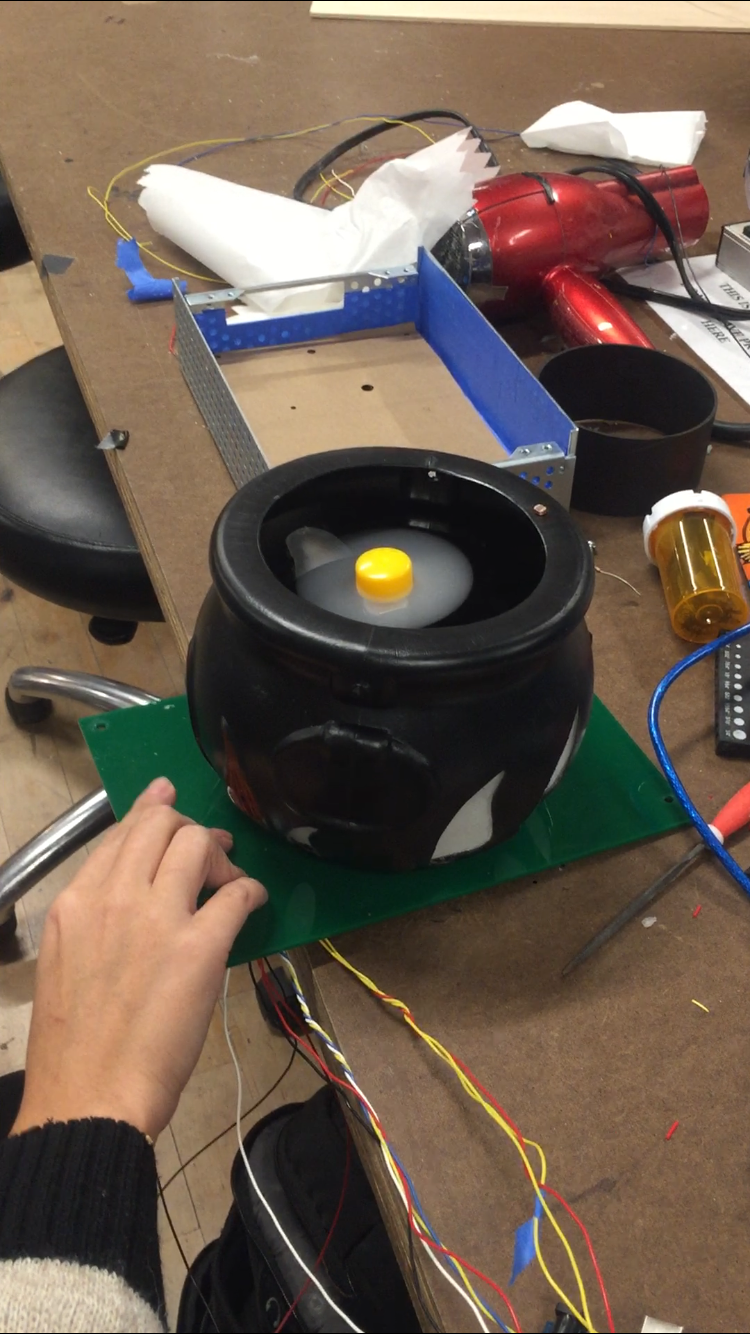
Another unpredicted issue was that the metal box was actually super conductive. I didn’t want to risk killing my Arduino, so I had to cover the whole inside with tape (and the bottom is cardboard) to make sure no wires or pins from the Arduino could touch the metal surface of the box. This solved the problem.
Glued transparent plastic for the flames, outside view.
From this photo you can see how the photocell was mounted to the rim of the cauldron. The stacked tower placed inside. The translucent plastic for the flames was adhered by cutting it larger than the flame and glueing the edge around the opening.
Pictured here is my finger on the fan switch with cords run through a hole in the green panel to be hidden in the box. Behind the cauldron is the metal box after being covered with blue tape and cardboard inside to prevent electrical shortage.
With all the code working, assembly seemed straight forward. The components worked, we just needed to put it inside this weird bowl. Our engineering of this device was actually quite sound, but all the movement of pieces, inevitably always made a wire or something pop out and left me quietly crying that the disco ball had suddenly stopped working. Ashley came to my rescue and said I could hot glue wires to the breadboard and it will help them stay in place. BLESS, this solved my issue entirely. As long as everything stayed connected, there would be no issue.
Shot of the final product.
FINAL THOUGHTS:
Ultimately, the halloween disco cauldron was a success! I think people enjoyed how responsive the cauldron was to the light in the room. It was a simple interaction, but an effective one, because it’s reacting to environmental change. In the end, we ended up using a lot of found material and strategies that we had learned from Intro to Fab (yay!). In addition, I very much enjoyed watching people’s reaction when they flipped a switch and saw confetti blow out. It was also a hilarious instinct that everyone would quickly clean up the pieces and put them back in. If I could do it over, my one big change would be to use stronger brighter LEDs, this would make the party state even more pronounced. Overall, I am very proud of this piece. It is clean, well constructed, and gets the point across. But the most exciting part is that it has the potential to be scaled up. The foundation is there, so where could we take it next?


